📝탭바 만들기
탭바를 만들기 위해 build.gradle에 라이브러리 임포트 해준다
implementation 'androidx.navigation:navigation-fragment:2.5.3'
implementation 'androidx.navigation:navigation-ui:2.5.3'
우선 메인 액티비티의 레이아웃을 RelativeLayout으로 변경해주고
BottomNavigationView를 추가해 layout_alignParentBottom을 true로 입력해준다
xml 코드 androidx.constraintlayout.widget.ConstraintLayout 부분을 RelativeLayout으로 변경
<?xml version="1.0" encoding="utf-8"?>
<RelativeLayout xmlns:android="http://schemas.android.com/apk/res/android"
    xmlns:app="http://schemas.android.com/apk/res-auto"
    xmlns:tools="http://schemas.android.com/tools"
    android:layout_width="match_parent"
    android:layout_height="match_parent"
    tools:context=".MainActivity">

    <com.google.android.material.bottomnavigation.BottomNavigationView
        android:id="@+id/bottomNavigationView"
        android:layout_width="match_parent"
        android:layout_height="wrap_content"
        android:layout_alignParentBottom="true"
        app:itemIconSize="24dp"
        app:labelVisibilityMode="unlabeled"/>
</RelativeLayout>
좌측 리소스 매니저탭에서 네비게이션 선택 후 +버튼으로 생성 (파일명 my_nav로 만들었다)

생성 완료하면 res폴더에 navigation 폴더가 생기면서 위에서 만든 파일명으로 xml파일이 생성된다
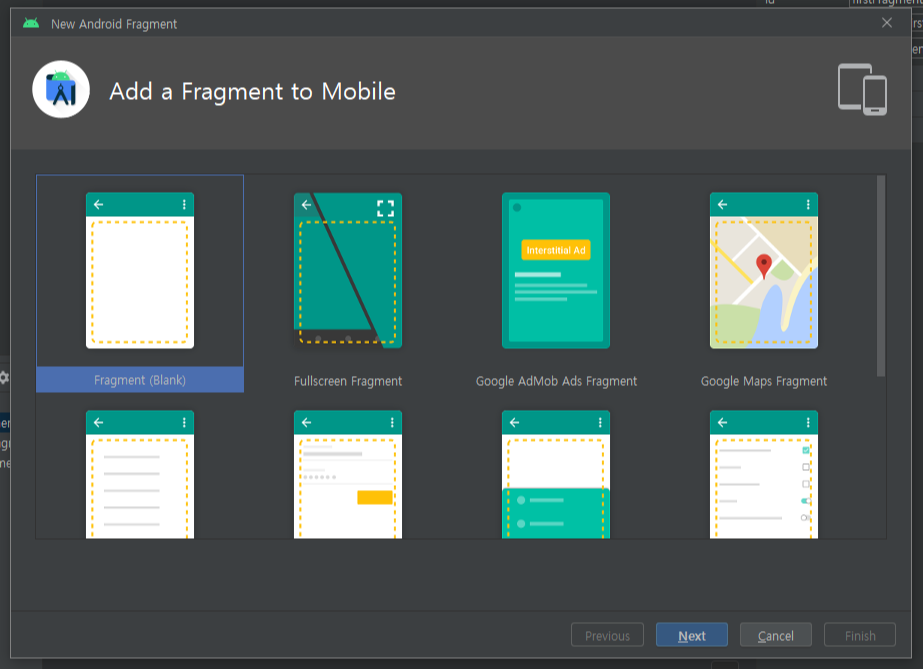
해당 파일로 가서 +버튼을 눌러 Create new destination을 선택, 플래그먼트를 사용할 갯수만큼 생성해준다


플래그먼트를 생성했다면 메인 액티비티로 돌아가 FragmentContainerView 를 추가한다 (방금 만든 네비게이션을 선택해 생성)
생성했다면 플래그먼트의 위치를 지정해준다(겹치지 않고 탭바의 위에 위치하게 layout_above 설정)
<androidx.fragment.app.FragmentContainerView
        android:id="@+id/fragment"
        android:name="androidx.navigation.fragment.NavHostFragment"
        android:layout_width="match_parent"
        android:layout_height="match_parent"
        android:layout_above="@id/bottomNavigationView"
        app:defaultNavHost="true"
        app:navGraph="@navigation/my_nav" />
이제 좌측 리소스 매니저탭에서 메뉴를 선택해 생성해준다
사용할 탭바의 갯수만큼 Menu Item을 추가해 이미지와 텍스트를 지정해준다
<?xml version="1.0" encoding="utf-8"?>
<menu xmlns:android="http://schemas.android.com/apk/res/android">

    <item
        android:id="@+id/firstFragment"
        android:icon="@drawable/baseline_home_24"
        android:title="홈" />
    <item
        android:id="@+id/secondFragment"
        android:icon="@drawable/baseline_photo_24"
        android:title="내 포스팅" />
    <item
        android:id="@+id/thirdFragment"
        android:icon="@drawable/baseline_settings_24"
        android:title="설정" />
</menu>
이렇게 만든 메뉴를 탭바에 셋팅하려면 메인 액티비티로 돌아가 뷰의 BottomNavigationView 코드에 아래 코드를 추가해준다
탭바에 글씨가 나온게 별로라면 labelVisibilityMode을 설정해주면된다 (unlabeled로 입력시 아이콘만 보인다)
app:menu="@menu/방금 만든 메뉴 파일 이름"
'Android Studio' 카테고리의 다른 글
| [Android Studio] Fragment에서 RecyclerView 클릭 이벤트 처리하기 (0) | 2023.02.15 |
|---|---|
| [Android Studio] TabBar Fragment 사용하기 (0) | 2023.02.15 |
| [Android Studio] 내가 만든 좋아요 API 기능 구현하기 (0) | 2023.02.14 |
| [Android Studio] UTC 시간 Local Time으로 변경하기 (0) | 2023.02.14 |
| [Android Studio] Retrofit으로 API호출할때 form-data 처리하기 (0) | 2023.02.14 |

댓글